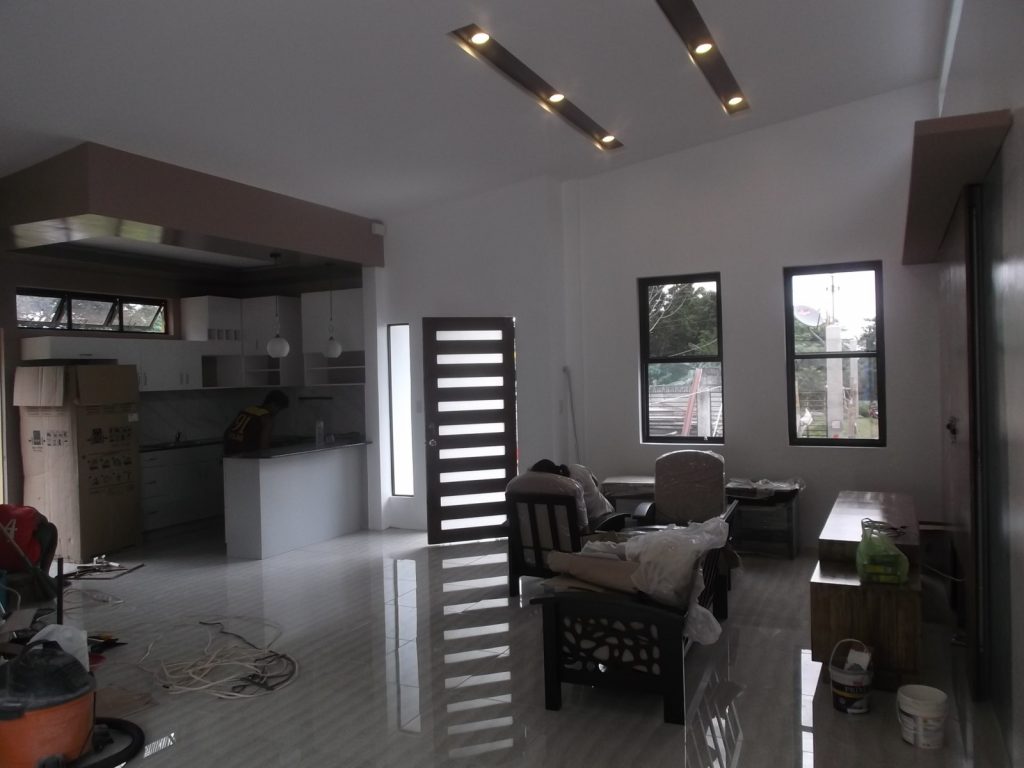
TURNOVER TO CLIENT Today is turnover day, and things are almost complete. We are rushing last minute work to make the house livable, then will allow the client to move in and realx for a few days before completing the remaining work and fixing any deficiencies.
Author Archives: Gordon Mckissock
23
Oct
Oct
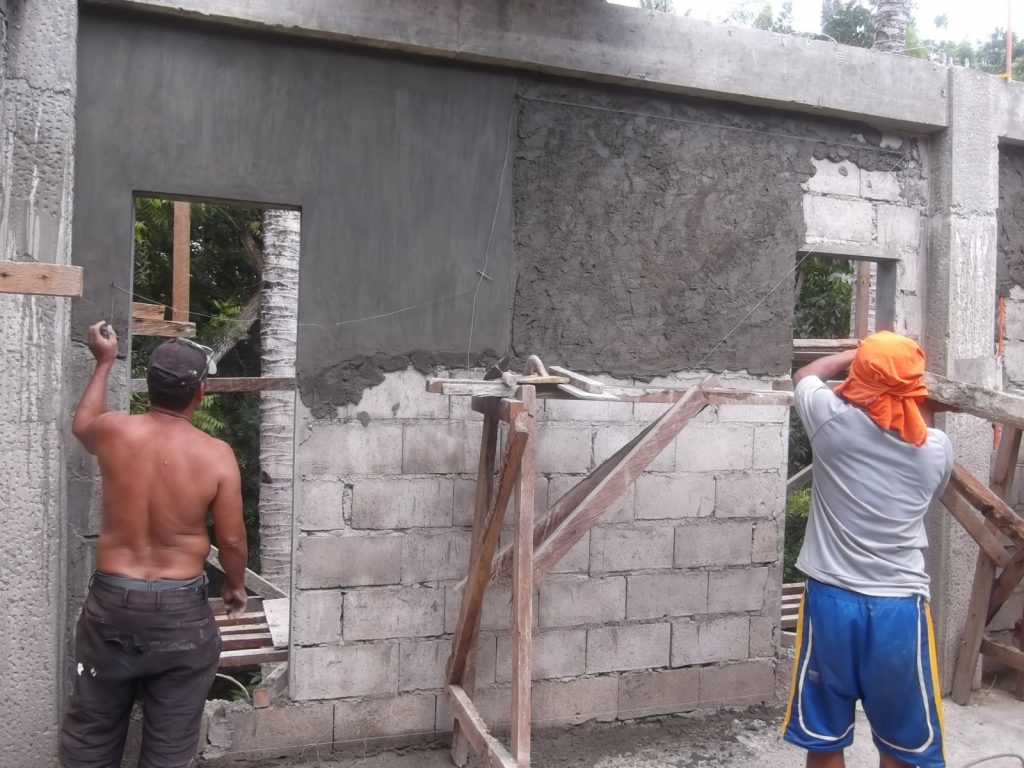
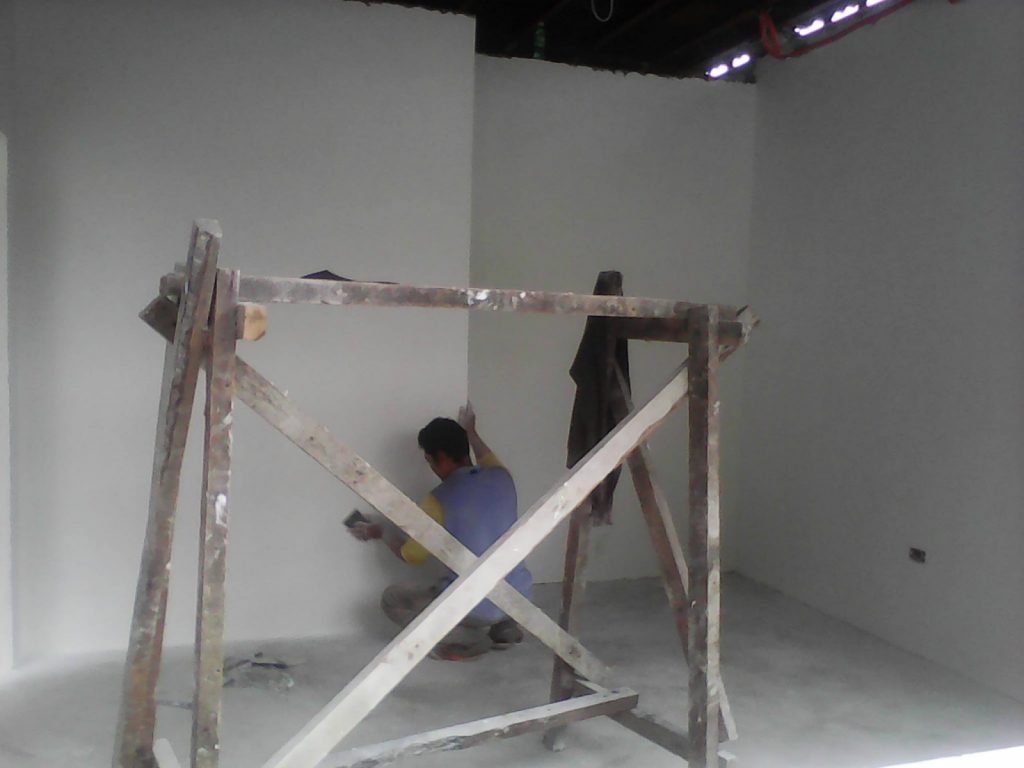
WALL RENDERING After the second floor slab was completed, we turned our attention to the walls. All interior and exterior walls were constructed using 4″ or 6″ concrete hollow block , with steel reinforcing rod and full fill of cement. After the walls are constructed, we apply a cement parging finish which is trowel graded […]
08
Oct
Oct
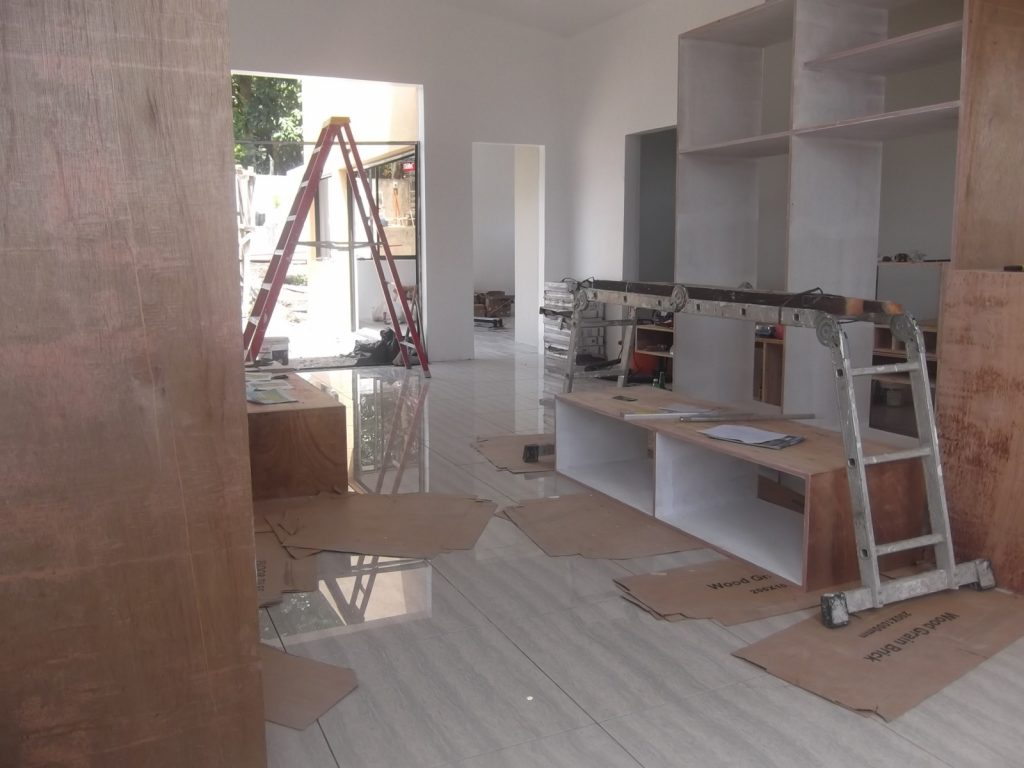
APPROACHING TURNOVER DATE We are now getting close to the turnover date to the client and things are going fast and furious in attempt to meet our deadline of September 30th. We are concurrently doing the tiling, painting, kitchen cabinets, electrical fixtures and much much more. With so many tradesmen working in the same area […]
18
Sep
Sep
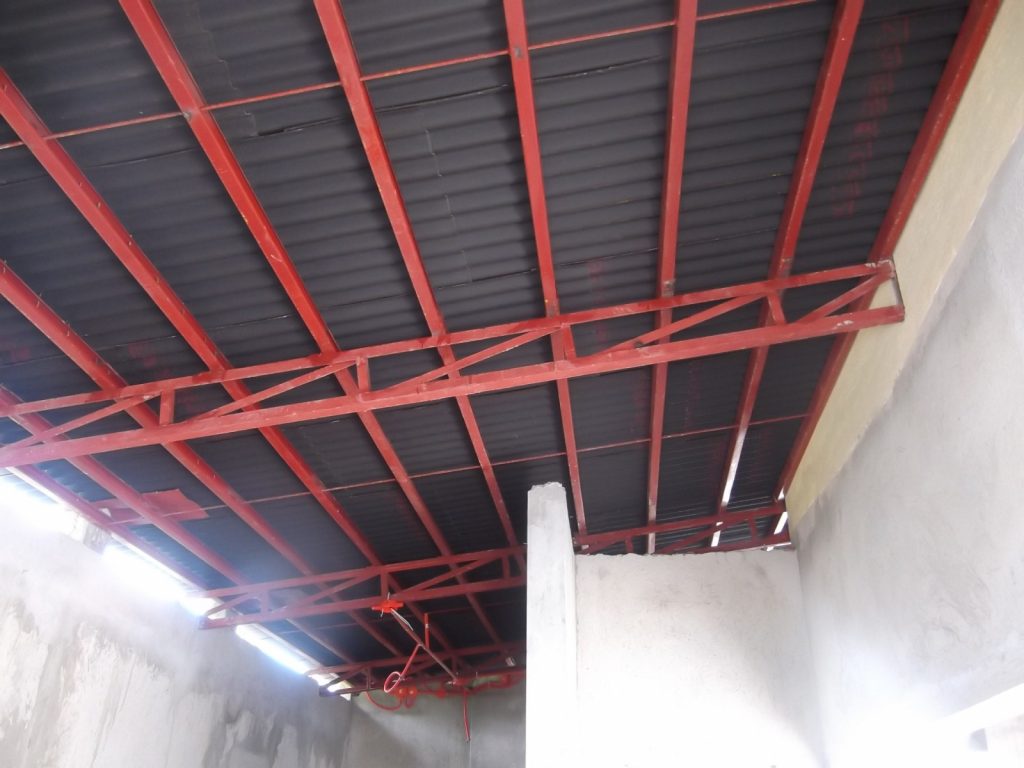
With the walls, columns and beams all structurally complete, we now fabricate steel joists to form the structural element of the roofing system. This is a two slope layout with the highest elevation near the middle of the building, sloping to the outside walls where it goes through through the opening between the exterior double […]
18
Sep
Sep
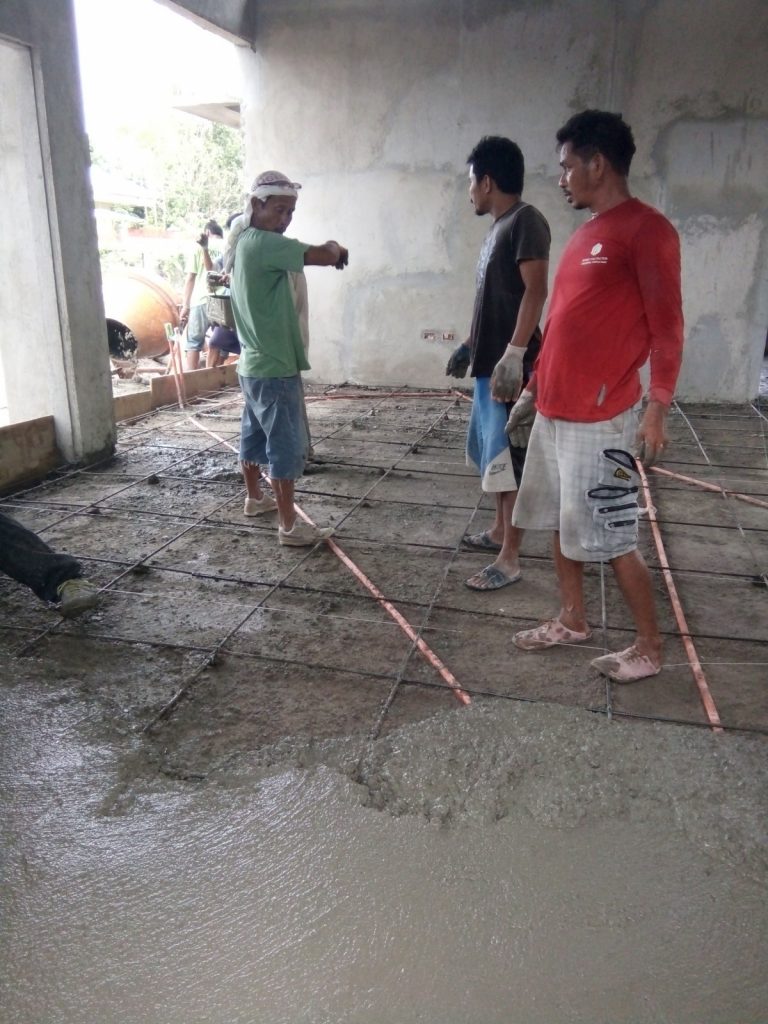
With the building now roofed and water tight, we review one final time all the electrical pipes and electrical conduits that are roughed in. We have already compacted the granular fill for the floor and now lay our steel matting which will reinforce the concrete floor slab. Once we are satisfied that everything is in […]
18
Sep
Sep
INTERIOR AND EXTERIOR FINISHING Now with the concrete floor slab complete, we turn our attention to both interior and exterior finish. On the interior, the walls are sanded once again and treated with a smoothing compound. A base coat of primer is applied to the walls after the compound is thoroughly dry. The same process […]
18
Sep
Sep
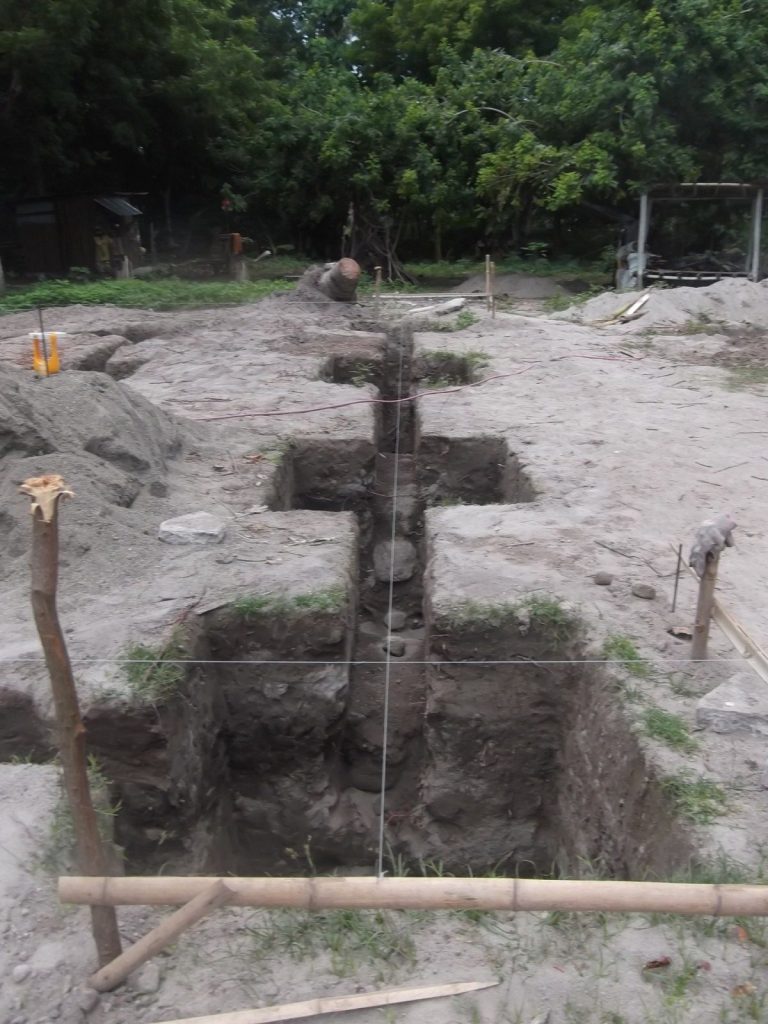
LAYOUT AND EXCAVATION With the temporary facilities set up, the layout of the building footprint begins. Once precise measurements are taken and stakes laid out, the men excavate by hand. The soil is found to be extremely soft and porous which is a concern. In order remove the risk of future settlement and cracking of […]
18
Sep
Sep
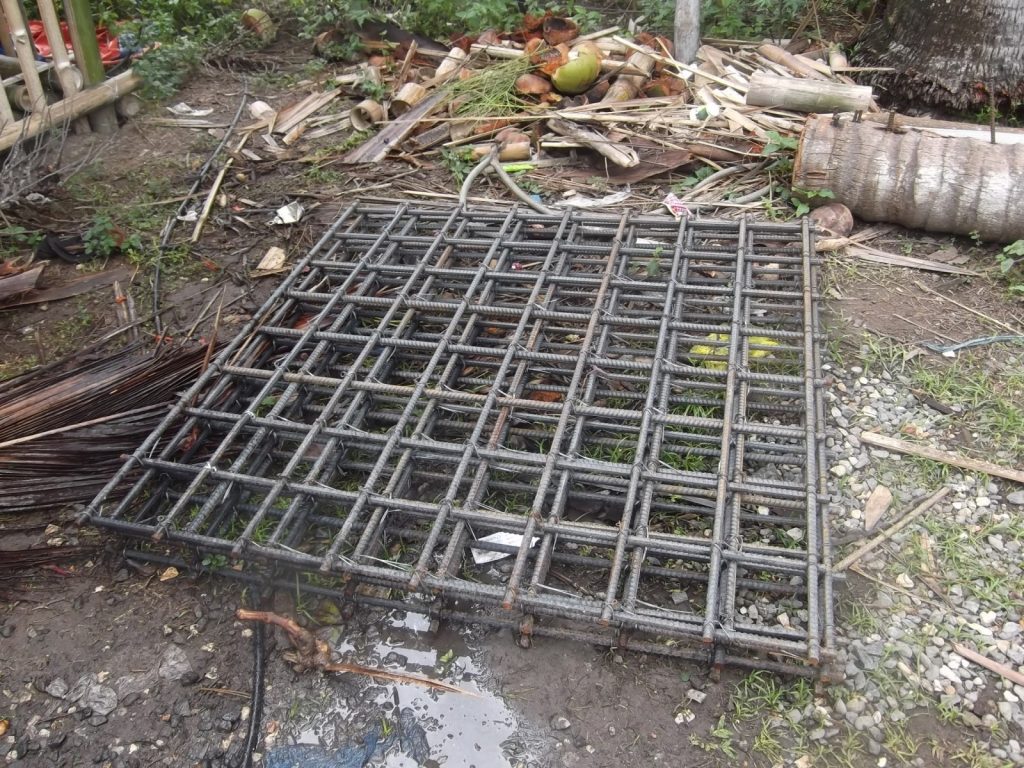
PREPARING THE REBAR Excavation complete, we start putting together all the rebar frames which will serve as reinforcement within the poured concrete footings and tie beams. Once ready we again take precise measuremnts and set the frames in place. We check everything is located properly one last time then pour the concrete for all our […]

18
Sep
Sep
The columns are now poured and the forms stripped so it is time to start constructing the beams for the second story. Again we start by constructing the rebar reinforcing frames, which we tie into the exposed rebar at the top of the columns. Once all this is securely in place, we build forms that […]
18
Sep
Sep
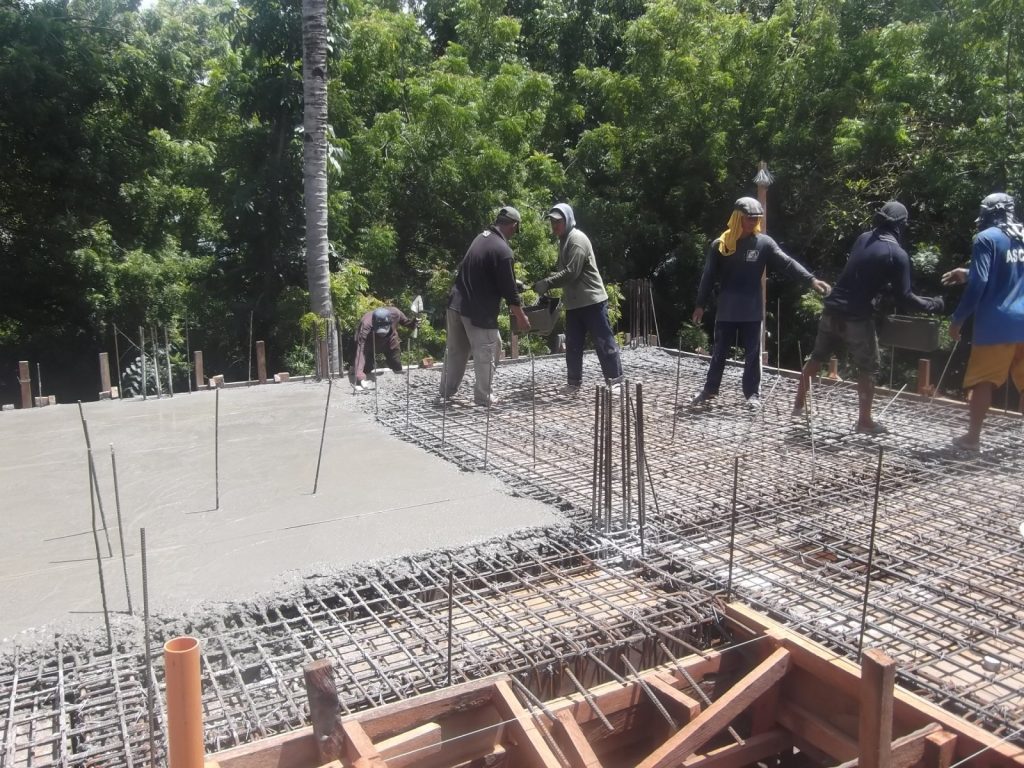
All the beams are now in place and poured. We now turn our boys to the task of preparing for the second story floor slab. This involves putting together all the wood forms and bracing them properly from below to temporarily hold the weight of the slab until it sets properly. We also must lay […]