FINISHING AND FENCING MARCH UPDATE
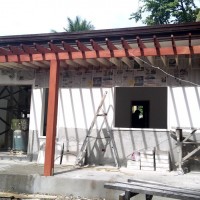
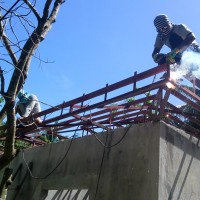
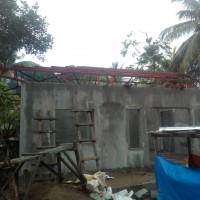
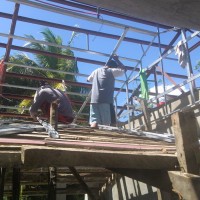
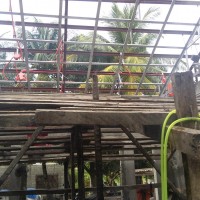
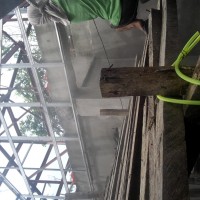
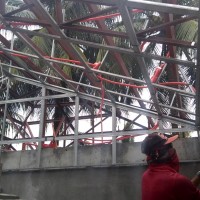
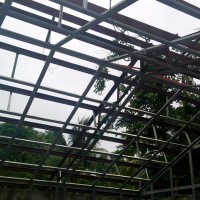
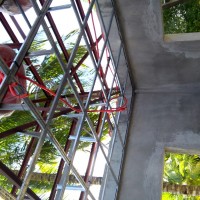
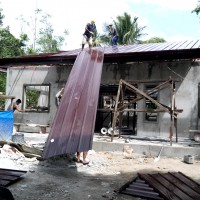
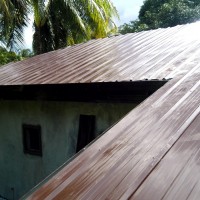
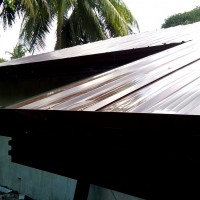
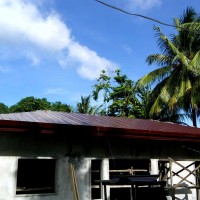
It’s been a long time since the last post on this construction project, so a lot to go over. Back in November we had just finished the parging/rendering on the hollow block walls and then began the roof framing. This was done by site fabrication of steel trusses using 2×2 angle bar, then after placing these joists on the beams, welding 2×3 steel purlin cross members to provide lateral support and something to attach the steel roofing to.


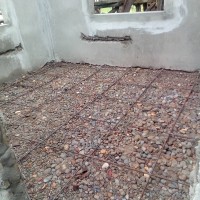
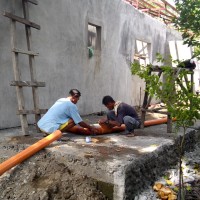
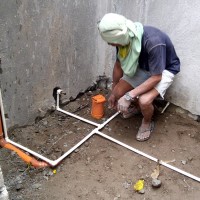
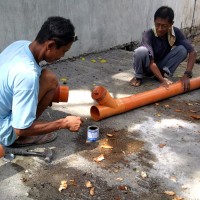
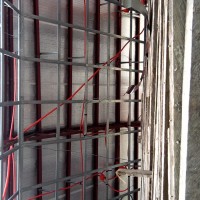
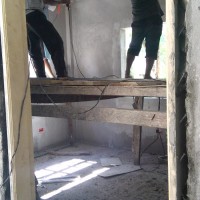
At the same time we have filled and compacted the interior floor area, and have laid out the electrical conduit and plumbing pipes which will be embedded in the concrete floor. We then tied together 10mm reinforcing bar (rebar) to provide structural matting for the concrete slab on grade.

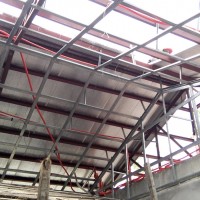
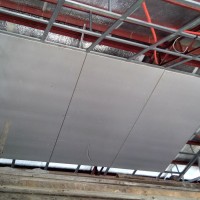
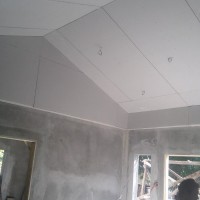
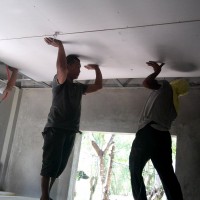
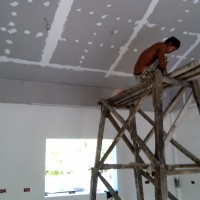
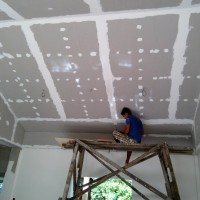
While waiting for the steel roofing order to show up, instead of staying idle, our men out together the suspended ceiling frame which consisted of steel tracks and angles hung from the steel joists or attached to the wall. In the main living area the ceiling will be cathedral style (sloped to follow roof line) and in the bedrooms and service area will be standard horizontal. Upon delivery and installation of the steel roofing, we insulated the underside of panels with foil face foam rolls.


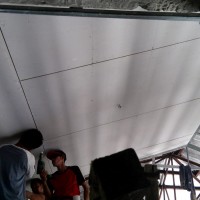
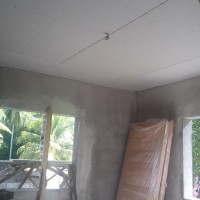
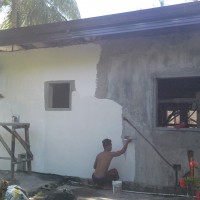
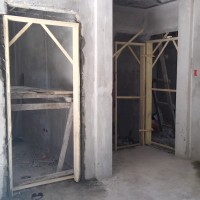
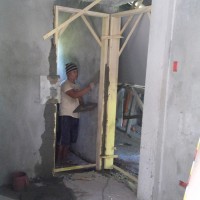
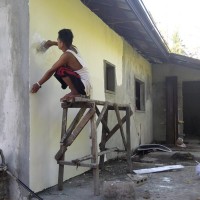
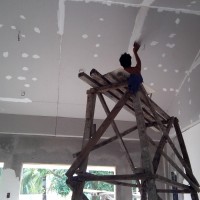
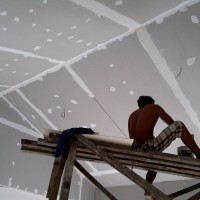
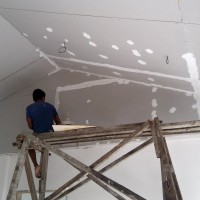
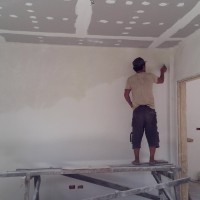
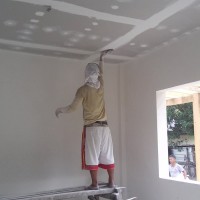
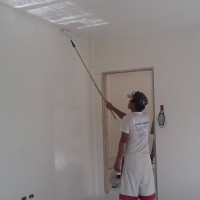
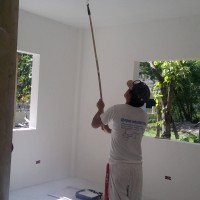
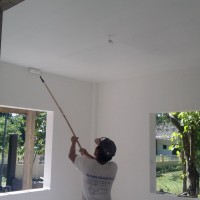
With everything complete in the ceiling space, including all electrical for future lights, we closed it up with 1/2 ” drywall sheeting screwed to the steel channels. With our drywall crew working hard on the ceiling, we had our masons and painters finishing both the interior and exterior walls. This included installing the wooden door jambs, then patching all cement rendering with a treatment called “Zemcoat”. This treatment will provide a smoother finish than the cement rendering and will greatly reduce the risk of any future cracking in the wall surfacing. Once the Zemcoat is on, the painters apply a white base coat primer.
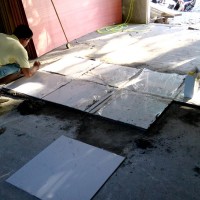
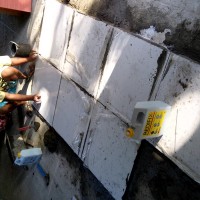
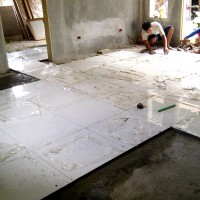
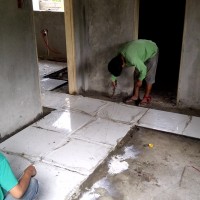
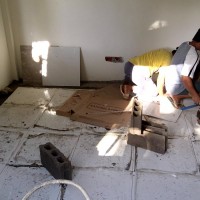
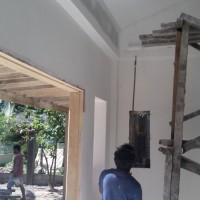
Due to some issues with scheduling our wall and ceiling finishers, we have decided to go ahead with tiling early. Usually our preference is to have all interior work on the walls and ceiling complete before getting the tiling down, however in this instance to stay on schedule, we have no choice to but mix things up a little bit.
With the drywall boarding done, the next step is taping and sanding. All joints, screw heads and any other imperfection are filled with drywall putty, sanded then filled and sanded again to ensure the smoothest surface possible as any bumps will show through the paint finish. Once all walls and ceilings are inspected and we are happy, the painters start.

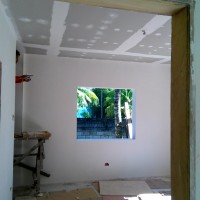

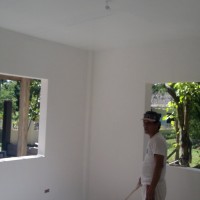
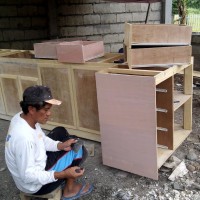
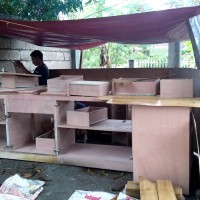
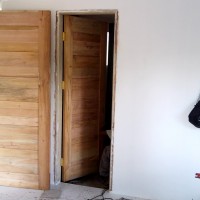
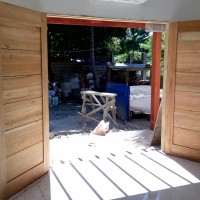
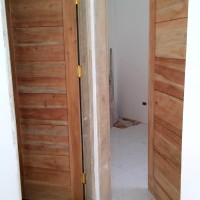
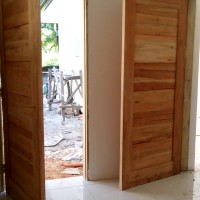
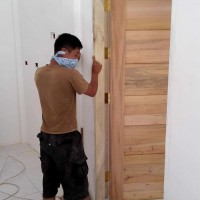
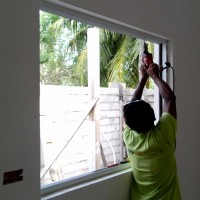
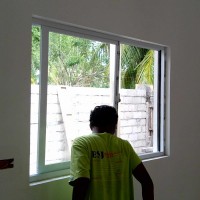
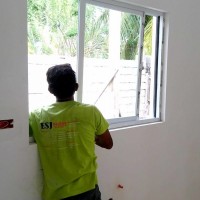
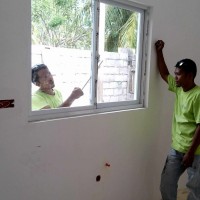
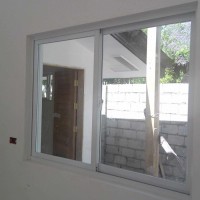
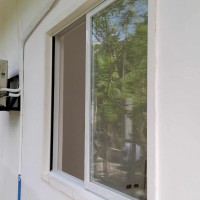
Now that the tiling is complete, we focus on other tasks. This includes building the cabinets, hanging doors and installing windows.


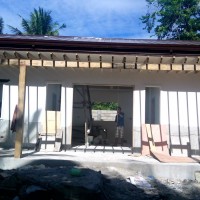
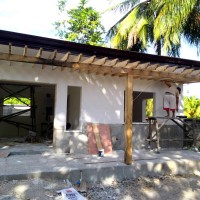
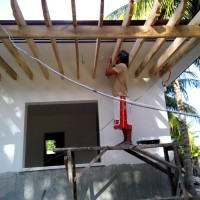
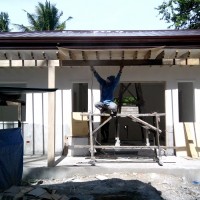
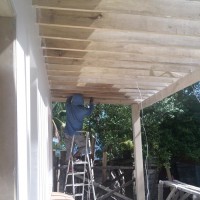
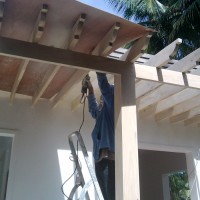
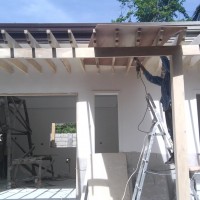
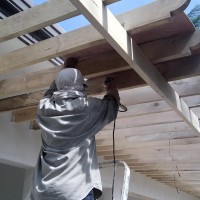
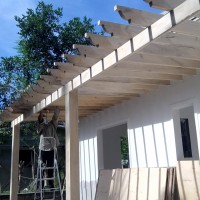
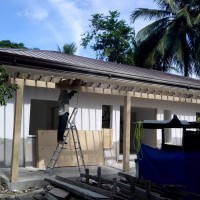
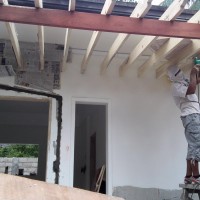
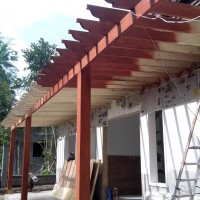
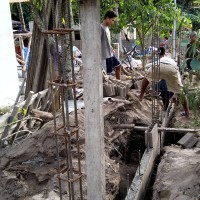
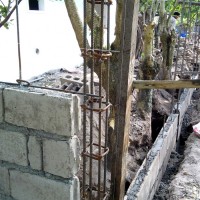
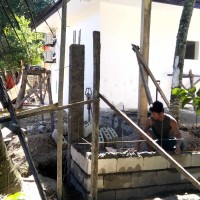
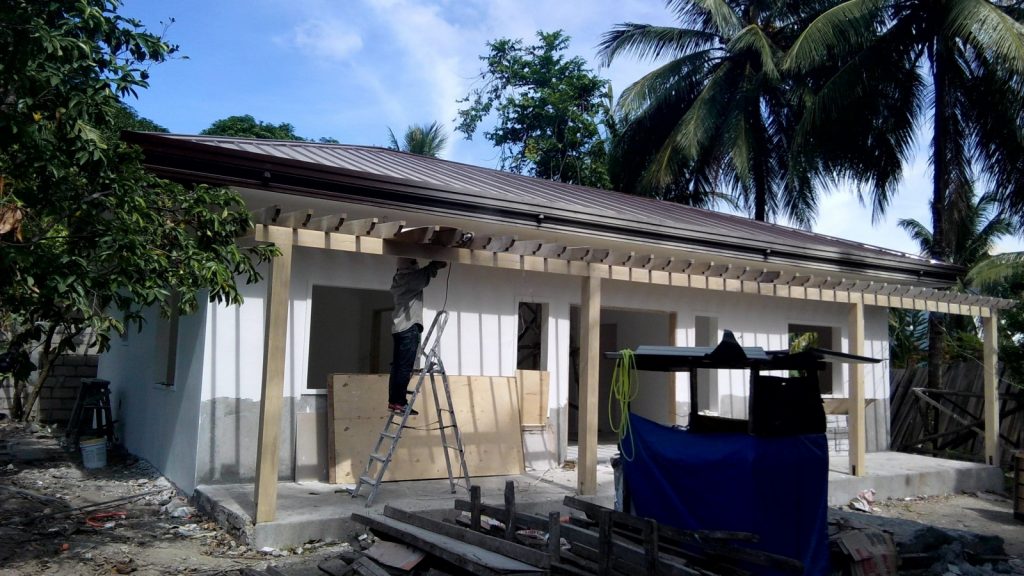
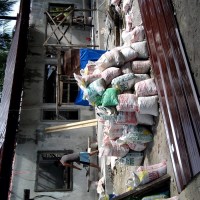
At the same time that the interior finishing is happening, we have another crew outside building the wood trellis over the front terrace, as well as have the workers construct a wall/fence. Two sides of the property will be walled with CHB, while the side by the entrance will be partial CHB and finished with steel pickets.